
")
A couple of years ago, I shared some tips on organizing travel photos. My husband has taken up photography in his retirement, and he helped me update this advice:
Have you ever been talking to someone about a vacation you took a few years ago, and when you go to look for your photos you can’t find them? Gone are the days of shoeboxes full of prints, because now nearly everybody leaves home with a smartphone capable of taking great digital travel photos. The problem is, we take SO MANY photos and videos, it’s not easy to find them when we need them.
Organizing these digital memories is a big task, so I wanted to share my Top Five Steps to Organizing Your Travel Photos.
STEP 1. BACKUP YOUR TREASURED PHOTOS/VIDEOS

Some of the BEST souvenirs you can bring home from a trip are the photos you took. Travel photos capture moments you’ll want to remember for many years, especially for families with young kids, so you don’t want to lose them! Before you play with image files stored on your device or computer, back them up on an external hard drive and in the Cloud. If you get hacked, or your device fails, you won’t risk losing all of your precious memories. Also, since photo files and video files are large, you will eventually run out of room on your computer, phone, or SD card. Backing up the files will clear space to capture more photos or videos. Smartphones and some newer DSLR cameras have the capability to store to the Cloud on the fly, but you’ll want a backup to your backup.
Back Up Your Photos to the Cloud
An inexpensive paid subscription to an online storage platform, like Dropbox, Google Photos, or iCloud, may be your best solution to ensure that your pictures stay backed up for years to come—even if your hard drive or phone dies. If you are an Amazon Prime member, did you know you have unlimited photo storage included in your membership? Amazon photo is an app available for your phone and your computer and will back up images in full resolution. It is not the best option to back up videos, however.
Back Up Your Photos to a Hard Drive
I also back up my photos to an external hard drive. The cost of memory has come down a lot in recent years, and you can purchase a 4TB hard drive for about $100-200.
STEP 2. SORTING, DISCARDING, & ORGANIZING

Sorting
After everything is backed up, start sorting all your photos into a “to-be-organized” folder. This will be the main folder for every image you import from your phone, camera, etc.
As you’re sorting your travel photos, arrange them in a logical order. Luckily, our smartphones and most digital cameras have built-in information on each photo that identifies the date, location or collection.
For photos of the non-digital variety, an easy way to scan any printed photos you have lying around is with a free Google app called PhotoScan. Upload them to the “to-be-organized” folder.
Discarding
Go through each photo and delete any images you aren’t keeping. It is easy to delete all the ones that are dark, blurry, or otherwise imperfect, and this step will keep your collection down to a manageable size. You’re likely to share only your best images. The Photosync app can assist you in locating and purging duplicate photos.
Organizing
The highest-level folder should be the year, and nested inside, one for the month and country you visited. Then nest the applicable photos within those folders. If you have a ton of photos of one location, you may have enough to also organize them by cities or experiences.
The photos inside of a Mexico folder may have subfolders such as: Mexico City, Los Cabos, San Miguel de Allende, and Cancún.
Here’s an example of what this looks like:
- Month – Country name/Subfolders of city or region (like 2019-Mexico (subfolders: Los Cabos and San Miguel de Allende)
- Rename the files so that it indicates when and where the photo was taken (20191112_Guanajuato1 indicates the first photo taken on November 12, 2019 in Guanajuato, MX)
It’s a little tedious at first, but once you get your photos organized, they’re a cinch to find. If it seems daunting to rename all your files one by one, then download Adobe Bridge, a free program that helps you manage and organize images and other files. The batch rename feature allows you to quickly rename multiple files at once.
If you take RAW files, I recommend splitting them from the JPG files and placing them in separate folders.
If you are an Apple Photos user, you’ll want to organize your photos on your laptop/desktop. The computer version of Apple photos allows you to create folders AND the ability to place multiple albums in each folder. These folders are readable on your iPhone and iPad.
STEP 3: EDIT YOUR TRAVEL PHOTOS
After culling your images, it’s time to edit them to make them look their best. Some of my favorite editing tools are FREE (see a theme here?) and make a huge difference to the quality of the images.
- Apple Photos: if you have an Apple product, this app is the first place I go to make easy adjustments before getting fancy with other apps. Most of the time, this is the only app I need.
- Google Photos: if you have a PC, this app contains editing tools and smart filters.
- Adobe Lightroom: A powerful and popular photo editor. Pre-sets are available in the app or for purchase to save time by adding the preset to your images in a folder all at one time. There are helpful tutorials available online.
- Snapseed: developed by Google and features 29 tools and filters
- Adobe Photoshop is the go-to program for most photo editors needing more robust tools (available by subscription).
STEP 4: STORAGE

Next, you’ll want to back up your progress and set up a system to automatically store future images. You can use an external hard drive or a cloud-based service (or both). When selecting a cloud-based service, ensure that it doesn’t compress your original files (which decreases their quality and resolution). Believe it or not, many of them do. If you’re looking for a cloud-based service, I recommend BackBlaze (as low as $9/mo), which offers unlimited storage and an auto-backup feature. The bonus is it backs up your entire computer, too! Google Photos will back up unlimited photos and videos for free up to 16 MP and 1080p video resolution, but it downsizes higher quality files. If you want to preserve the original quality, be prepared to pay extra for it. Amazon Photos for Prime Members can also automatically back-up photos for free in full resolution.
STEP 5: MEMORIALIZE YOUR PHOTOS
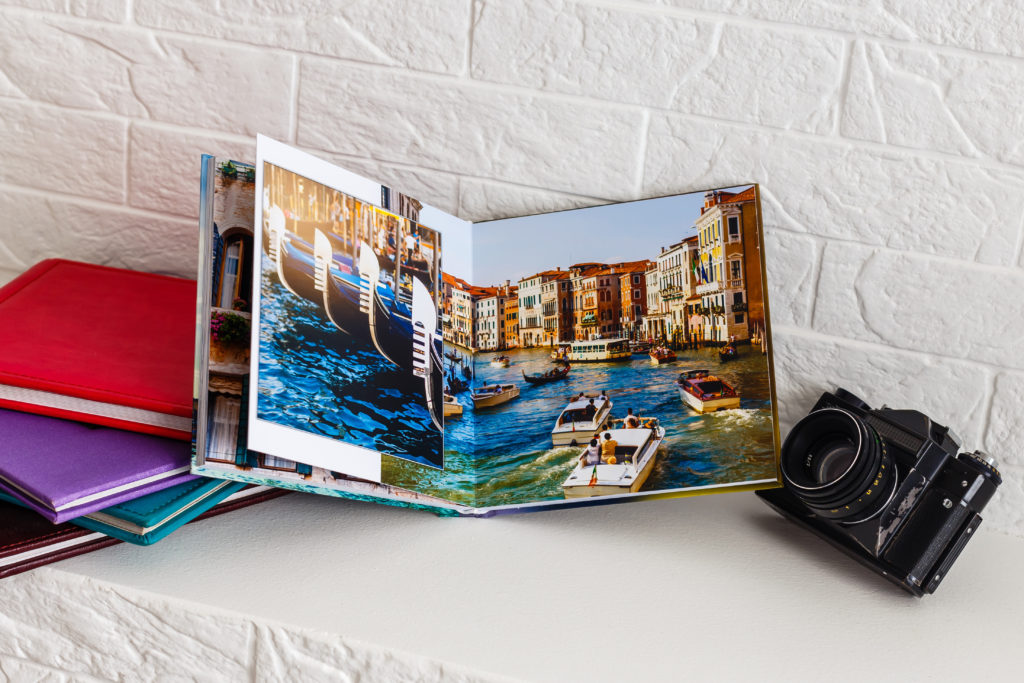
If you’re like me, you miss thumbing through your photos in a traditional photo album. Consider memorializing your most favorite digital photos in a printed photo album. Shutterfly and Snapfish have great options to order prints or create fantastic photo books to display your precious memories. Blurb is another popular site to create amazing photobooks and has a direct feed from within Adobe Lightroom.
I hope you found these tips useful. If reliving about your past vacations has you inspired to plan your next one, please contact Premiere Luxury Travel to create your next memorable adventure!